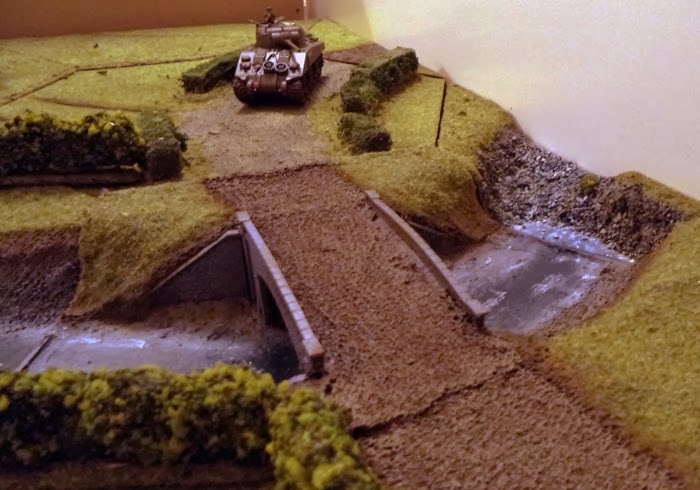
The second photodump. on this board the more central of the two bridges serves as the objective.
~Bob
Showing posts with label Terrain. Show all posts
Tuesday, 3 December 2013
Monday, 2 December 2013
Hold Until Relieved Board 1
Bit of a photodump. I have been building up a fair amount or terrain over the course of Poole Gaming Society's Bolt action starter tournament. Up until now I have been building it as a contiguous 8'x4' board split into two or three sections dependant on the number of players and the points being used. For the finale tomorrow night I know the mission, the number of players and I know the points values: 2 games of hold until relived at 1000pts. So I have bent every effort to create two 4'x4' boards with a clear central objective for each. Admittedly 4'x4' is on the small size for 1000 points, but it still works
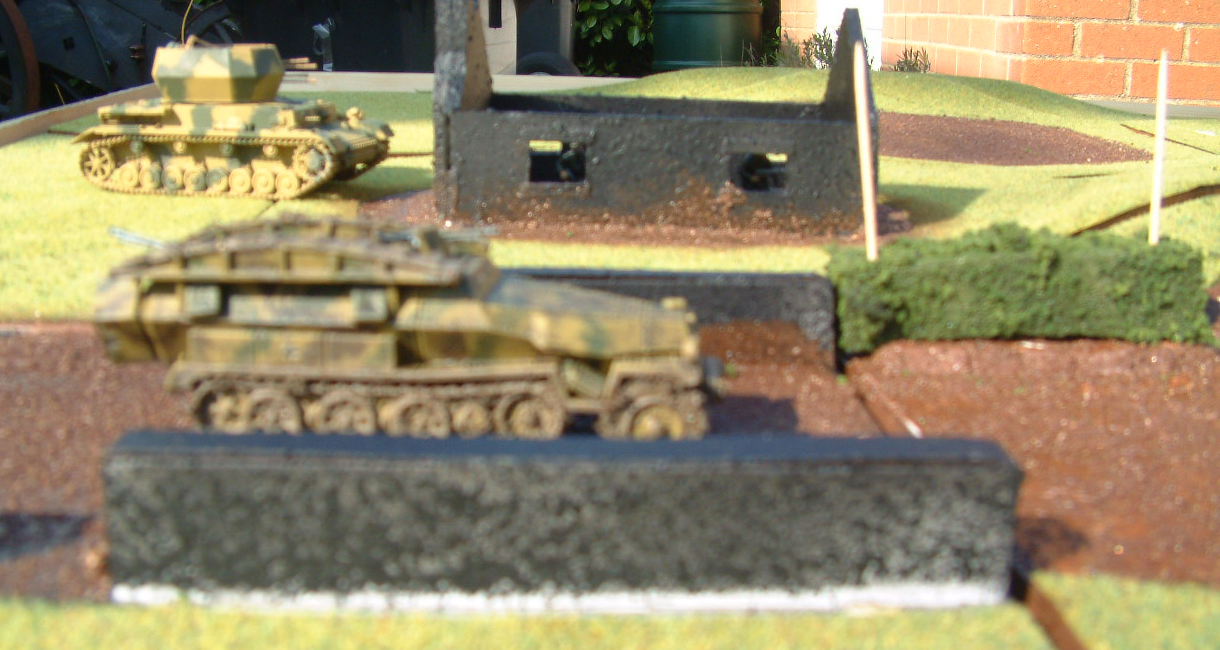
This first board is the simpler of the two. A nearly central cross road objective with a overlooking house, two more houses and two wooded area.
I am still in the process of painting up the buildings, in my initial painting I regrettably forgot to texture the walls. I will post the other board later tonight or tomorrow morning.
~Bob
This first board is the simpler of the two. A nearly central cross road objective with a overlooking house, two more houses and two wooded area.
I am still in the process of painting up the buildings, in my initial painting I regrettably forgot to texture the walls. I will post the other board later tonight or tomorrow morning.
~Bob
Tuesday, 5 November 2013
Making Hedges
The Hexboards I made a while back can be changed about quite a bit to make for varied terrain, but the sad fact is that there are a limited number combinations giving the need to link up hill, road and river sections. Also I have far to many hard cover buildings and not enough soft cover trees and hedges. To this end I have started making additional forest tiles and scatter terrain hedges. My Hedges are fairly cheap to make.
Materials
Next the BBQ Skewers are cut into 1" lengths and sharpened at one end using a pencil sharpener. They are then glued into the holes with PVA.
The Sponge scourers are cut into 1" wide sections, the scourers tend to 4" long. They are roughed up with a pair of scissors.
The base has sand glued to it and then painted up.
The sponge sections are rolled in green paint, I use an ice cream tub, a rubber glove and German Camo Dark Green.
Once dry the sponges are rolled in PVA and clump foliage and left in a airing cupboard for at least 24 hours. Flock is added to the bases, then the sponges are pinned down onto the skewer spikes.
All ready for gaming
~ Bob
Materials
- Sponge Scourers
- BBQ Skewers
- MDF Scraps
- Sand
- PVA
- Clump Foliage
Next the BBQ Skewers are cut into 1" lengths and sharpened at one end using a pencil sharpener. They are then glued into the holes with PVA.
The Sponge scourers are cut into 1" wide sections, the scourers tend to 4" long. They are roughed up with a pair of scissors.
The base has sand glued to it and then painted up.
The sponge sections are rolled in green paint, I use an ice cream tub, a rubber glove and German Camo Dark Green.
Once dry the sponges are rolled in PVA and clump foliage and left in a airing cupboard for at least 24 hours. Flock is added to the bases, then the sponges are pinned down onto the skewer spikes.
All ready for gaming
~ Bob
Thursday, 19 September 2013
Buildings workshop (Part 2)
While the new moulds for the French howitzer slowly set in the pressure chamber (the first mould was an abysmal failure) I have returned to building buildings.
First up are a pair of ruins to change up a street of houses, or to replace buildings when my artillery finally manage to hit something.
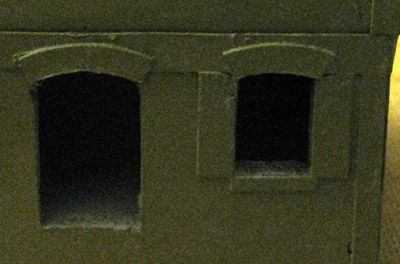
I have used these to change up and perfect my detailing. All the windows have lintels and proper shutters, the corners of the building now have brick work rather than the rather plain straight edges.
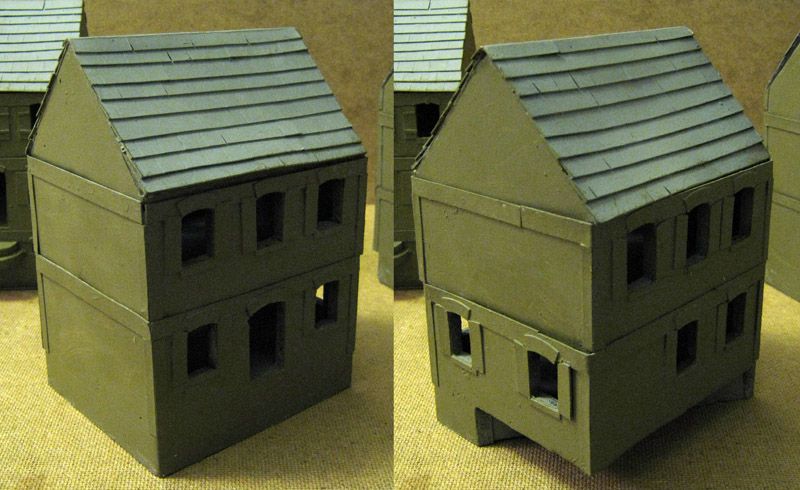
Next up is a corner building for a road junction that features on one of my hexes. This was a bit of an experiment, and not one that I would repeat in a hurry.
See all the brickwork, each brick was placed individually, it is a good thing I am already touched in the head. Not something I can see myself repeating unless I was planning to cast it up.
Lintels, arches and shutters all conform to my new standardisation, but the rest is come as you may. I did try to make another storey to this building, but the angles were off and I had to ditch it. I may give it another go at some point.
The building has an arched walkway which I have no idea how to deal with in the game, but was copied from buildings in H&D2.
More Buildings on the way soon, and hopefully some successful howitzer casts.
~ Bob
First up are a pair of ruins to change up a street of houses, or to replace buildings when my artillery finally manage to hit something.
I have used these to change up and perfect my detailing. All the windows have lintels and proper shutters, the corners of the building now have brick work rather than the rather plain straight edges.
Next up is a corner building for a road junction that features on one of my hexes. This was a bit of an experiment, and not one that I would repeat in a hurry.
See all the brickwork, each brick was placed individually, it is a good thing I am already touched in the head. Not something I can see myself repeating unless I was planning to cast it up.
Lintels, arches and shutters all conform to my new standardisation, but the rest is come as you may. I did try to make another storey to this building, but the angles were off and I had to ditch it. I may give it another go at some point.
The building has an arched walkway which I have no idea how to deal with in the game, but was copied from buildings in H&D2.
More Buildings on the way soon, and hopefully some successful howitzer casts.
~ Bob
Thursday, 12 September 2013
Buildings workshop (Part 1)
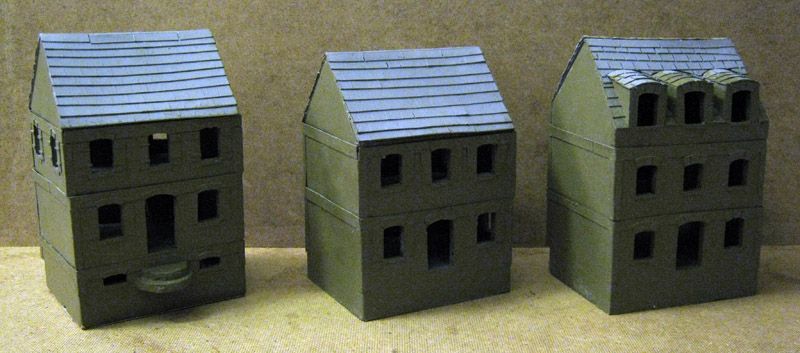
These buildings came after some trial and error in adding buildings to my Hexboard Project, which has attracted some local interest, but I have yet to refine to a point where I would be willing to put it on the market.
Building 1
A fairly simple two storey house. Parts of the dimensions (particularly the window sizes) come from Matakishi's designs. I actually built a few houses according to his templates, but I found them ridiculously small and they have now found there way into a bits box.
The finishing details change between each of the houses in this set, mostly because I couldn't settle on a good way of doing them that was time efficient.
Building 2
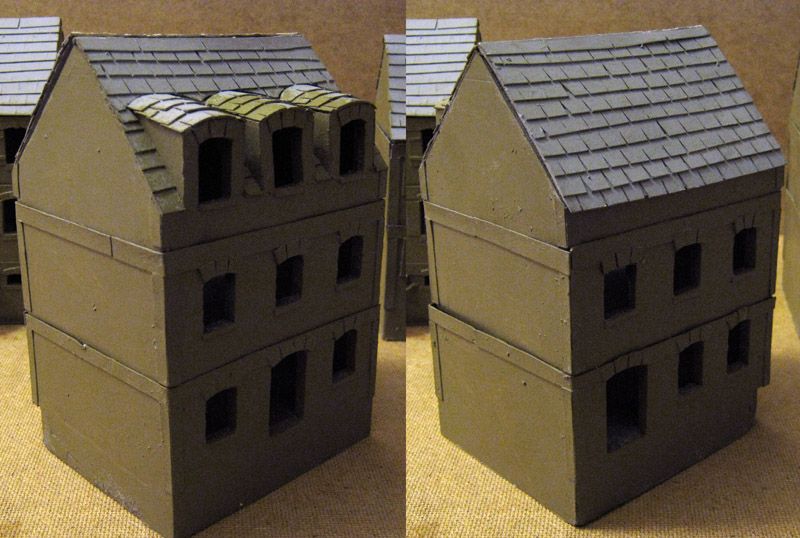
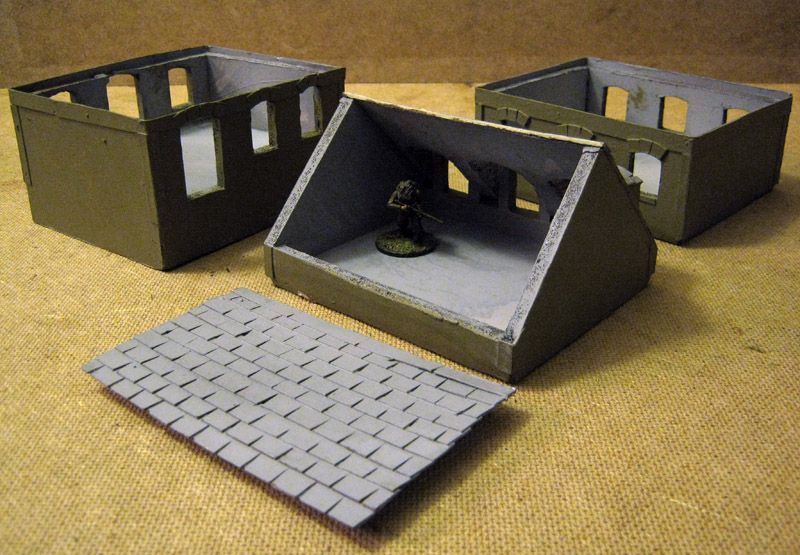
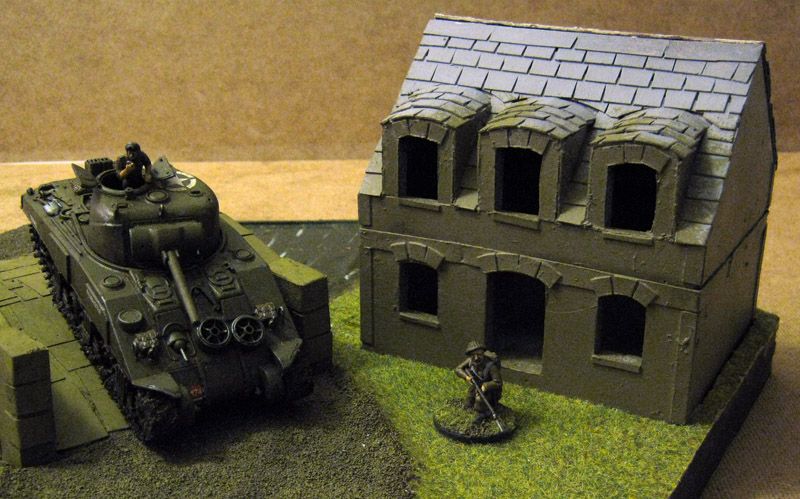
Superficially the same as building one, but with rooms in the attic.
All of the buildings split into their individual floors so that models can be placed inside rather than having the models placed off board (and the confusion that often results).
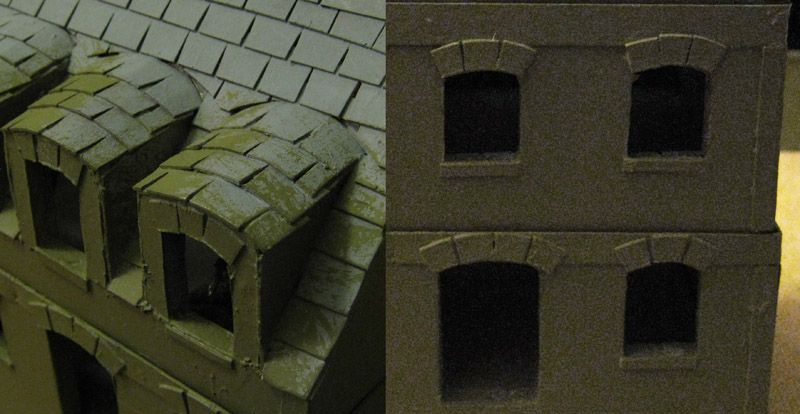
This building has 'stone' arches and no shutters, personally I find this my least favourite detailing. The roof tiles on the dormers also annoys me.
Building 3
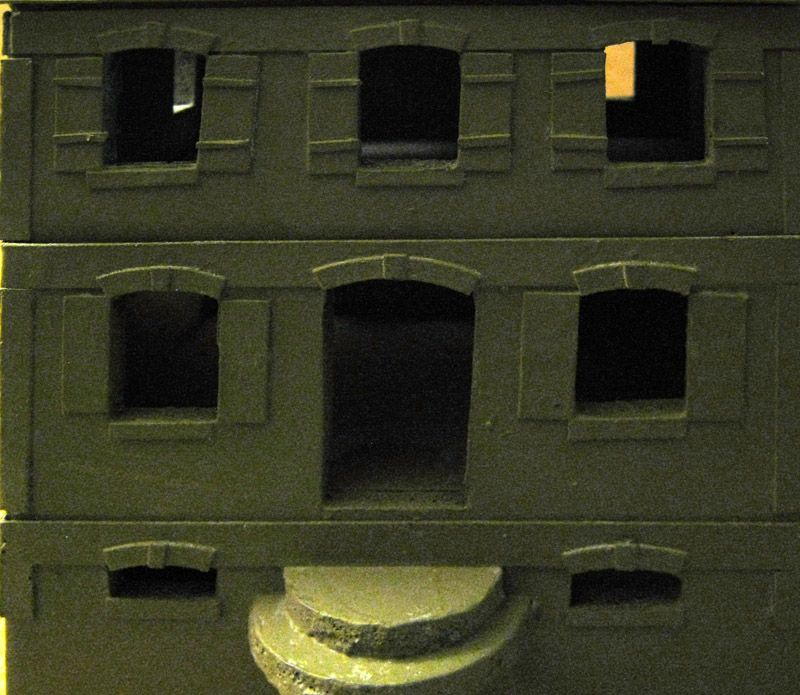
The detailing on this is a real muddle. I decided the basement windows were too small for shutters, but the ground floor has standard shutters and the 1st floor has shutters with extra detail. All arches have a keystone. I find this the best detailing, but it also takes the most time
In-Hex pictures
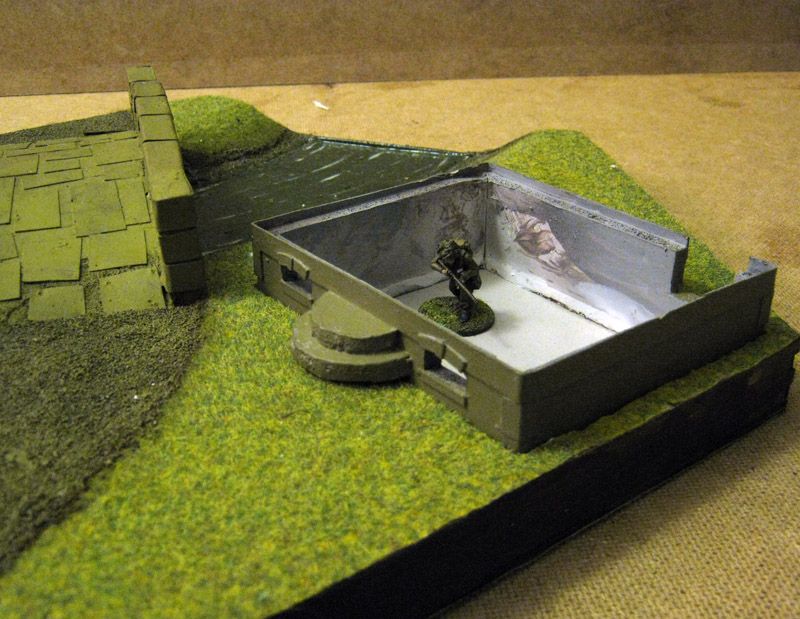
You may have been wondering why the ground level of each of my houses was two cm above the bottom of the building. Well my game board hexes have precut slots for the buildings, demonstrated here with the basement of Building 3:
The next floor then slots on top:
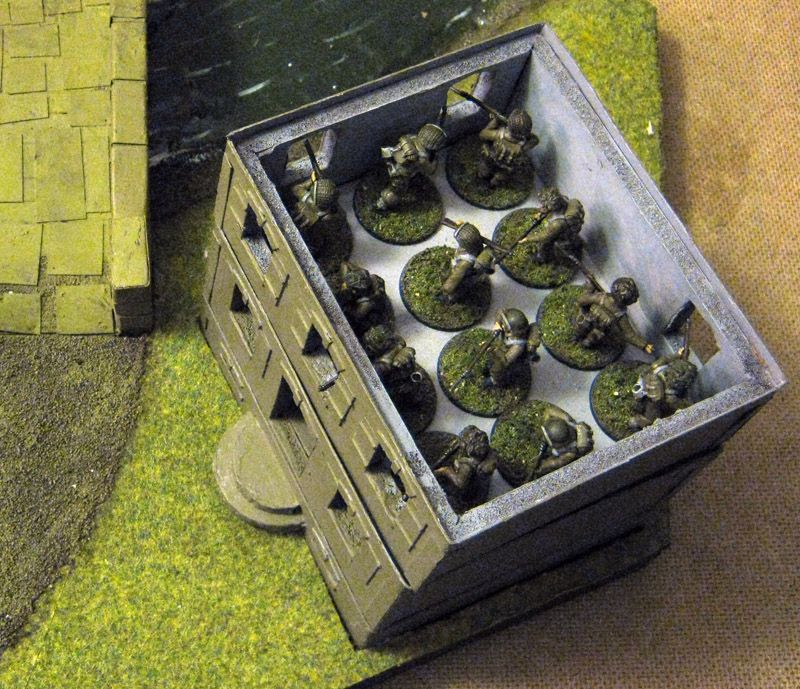
Each floor can fit 12 models on 25mm bases without any overlap, admittedly I didn't design the buildings with Japanese players in mind:
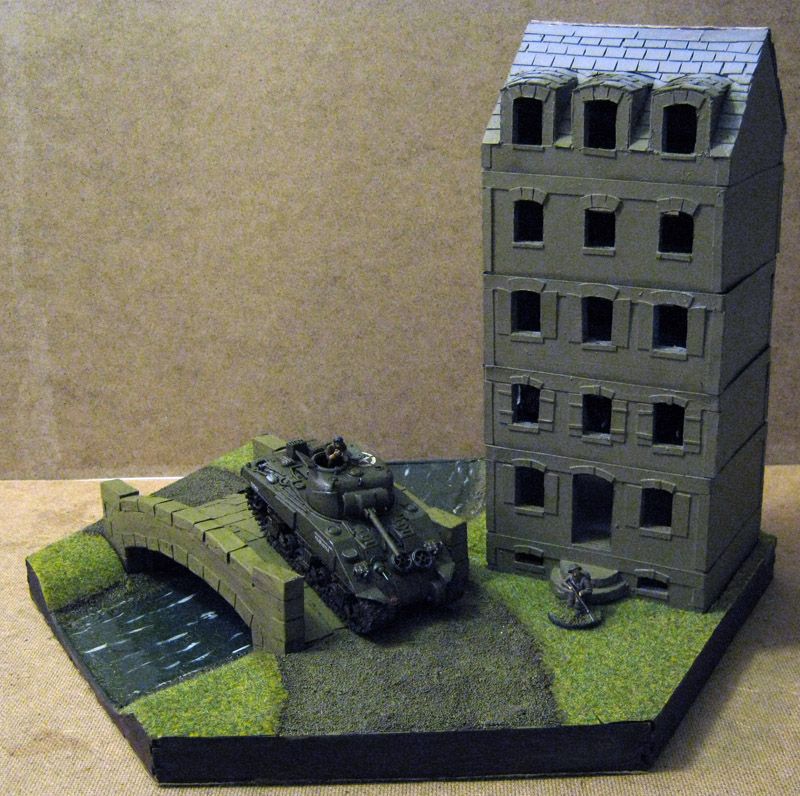
The Buildings are all to the same floor plan, so I can stack as many floors as I like in a single Hotel:
And use the leftovers to make some Bungalows:
Please leave me some feedback, especially let me know which detailing worked best.
~ Bob
Thursday, 2 May 2013
Bolt Action Terrain (Part 1)
This board is part of my commitment to helping Poole Gaming Society get started up. Sadly the Insurance has not come through on time so we have been forced to push back the start day from the 7th of May all the way to Tuesday the 21st of May. On the plus side this gives me time to actually finish the boards.
You may notice that the quality of the photos has dropped. The camera I was using went to Cuba for two weeks (without me) and came back broken. My old camera serves, and may be slightly better than the one on my mobile, but it is difficult to tell.
So here is the initial phase, the hexes I had laser cut as a prototype for an eventual retail version; a modular hex wargaming board. On to this is glued a layer of foam board which was roughly drawn the initial layout
With scratch built hedges, some static grass and textured paint it is starting to take shape.
Currently 48" deep by 40" wide, this edge has been left 'ragged' so I can double the width of the board once I build more tiles.
Each of the hedge lined road tiles have a gap on either side so they do not completely block movement.
The road should be big enough for a Bolt Action Tiger, but as I do not own one yet it is difficult to check.
Some of the hedges completely obscure infantry, while other hedges allow the heads to peek over the top.
This building only needs a coat of paint and a roof. I plan to have the roof hinge open on the centre line with one side firmly glued down.
The other building only has a basement at the moment, additional levels will be added over the next few weeks.
One of the main purposes of my hex design was to get some three dimensionality into my gaming.
Rivers, trenches and basements are normally below ground level, not sitting atop the grass!
~ Bob
You may notice that the quality of the photos has dropped. The camera I was using went to Cuba for two weeks (without me) and came back broken. My old camera serves, and may be slightly better than the one on my mobile, but it is difficult to tell.
So here is the initial phase, the hexes I had laser cut as a prototype for an eventual retail version; a modular hex wargaming board. On to this is glued a layer of foam board which was roughly drawn the initial layout
Each of the hedge lined road tiles have a gap on either side so they do not completely block movement.
The road should be big enough for a Bolt Action Tiger, but as I do not own one yet it is difficult to check.
Some of the hedges completely obscure infantry, while other hedges allow the heads to peek over the top.
This building only needs a coat of paint and a roof. I plan to have the roof hinge open on the centre line with one side firmly glued down.
The other building only has a basement at the moment, additional levels will be added over the next few weeks.
One of the main purposes of my hex design was to get some three dimensionality into my gaming.
Rivers, trenches and basements are normally below ground level, not sitting atop the grass!
~ Bob
Subscribe to:
Posts (Atom)